Your motherboard is the heart of your computer, linking all your hardware components together and ensuring everything runs smoothly. So, when you see a red light on your motherboard, it’s understandable to feel a bit of panic.
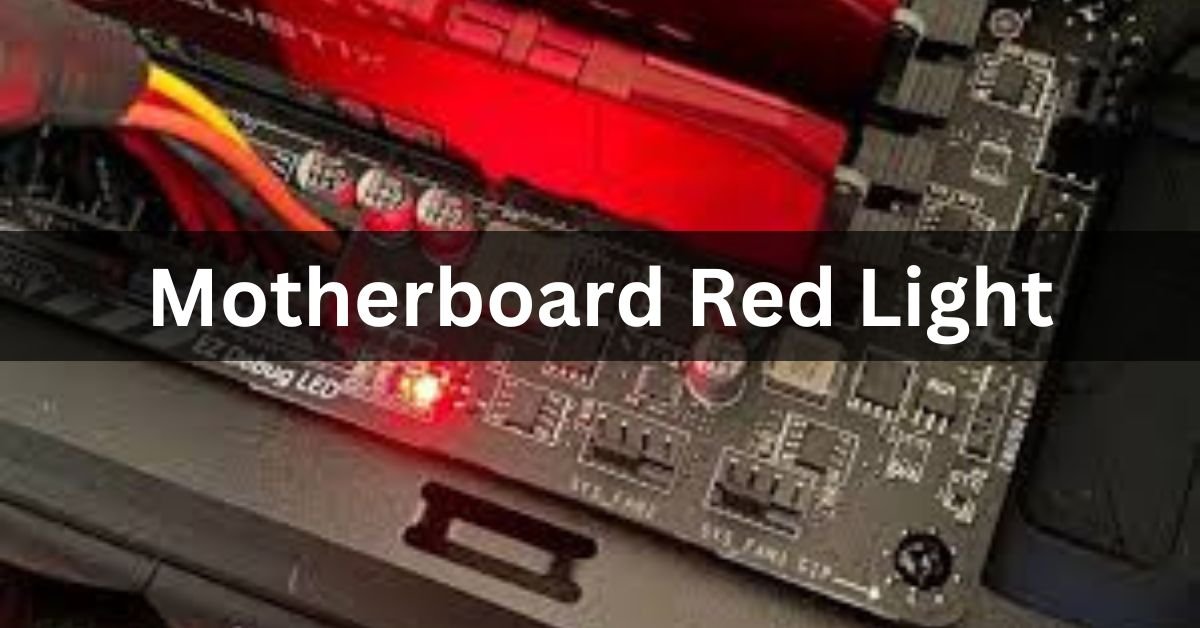
A motherboard red light usually means there’s a hardware problem. It can signal issues with the CPU, RAM, or power supply. Check the motherboard manual to understand what the red light indicates and how to fix it.
In this article, we will discuss the function of “Motherboard Red Light”.
Understanding the Motherboard Red Light:
What is the Motherboard Red Light?
The motherboard red light is an indicator designed to alert you to various issues with your computer’s hardware or power supply. It can signal anything from a loose cable to a critical component failure.
Common Causes of the Red Light:
Several factors can trigger the red light on your motherboard. These range from power supply problems and overheating components to hardware failures and loose connections.
Types of Motherboard Lights:

1. Power Light:
This is usually the first light to come on when you power up your computer. It indicates that the motherboard is receiving power.
2. Diagnostic Lights:
Some motherboards have multiple diagnostic lights, each corresponding to a different component, like the CPU, RAM, or GPU. These lights help pinpoint where the issue lies.
3. Error Indicators:
Error indicators are specifically designed to alert you to problems. The red light is a common error indicator on many motherboards.
Read: Do All Motherboards Have Wifi – Comprehensive Guide – 2024
Common Causes of a Red Light on the Motherboard:
1. Power Supply Issues:
A failing or insufficient power supply can cause the red light to appear. It might mean your power supply isn’t delivering enough power to the motherboard or has developed a fault.
2. Overheating Components:
If your CPU or GPU overheats, the motherboard might light up red to warn you. Overheating can damage your components and reduce their lifespan.
3. Hardware Failures:
Faulty RAM, a malfunctioning CPU, or a broken GPU can trigger the red light. Identifying the faulty hardware is key to resolving the issue.
Read: What Are Motherboard Power Stages – Ultimate Guide – 2024
4. Loose Connections:
Sometimes, the solution is as simple as a loose cable or improperly seated component. Checking all connections can often resolve the red light issue.
Read: Am4 Motherboard Tier List – Ultimate Guide – 2024
Diagnosing the Problem:
1. Initial Inspection:
Start by visually inspecting your motherboard and components. Look for any obvious signs of damage or disconnection.
2. Checking Power Connections:
Ensure that all power cables are securely connected to the motherboard and other components. Loose power connections are a common cause of red lights.
3. Inspecting Hardware Components:
Check that all your components (RAM, CPU, GPU) are properly seated. Reseating these components can sometimes fix the issue.
Read: Are Gigabyte Motherboards Good – Ultimate Guide – 2024
Power Supply Issues:
1. Ensuring the Power Supply is Functional:
Make sure your power supply unit (PSU) is functioning correctly. Check that it’s providing the right amount of power required by your system.
Read: Is It Better To Connect Monitor To GPU Or Motherboard – Ultimate Guide – 2024
2. Testing with a Multimeter:
Use a multimeter to test the PSU output. This can help you determine if the power supply is delivering the correct voltage.
Read: Do I Need To Upgrade My Motherboard – Ultimate Guide – 2024
3. Replacing the Power Supply:
If your PSU is faulty, replacing it with a new one can often resolve the red light issue. Ensure the new PSU is compatible with your system’s power requirements.
Read: What Is Aafp On Motherboard – Ultimate Guide – 2024
Overheating Components:
1. Importance of Cooling Systems:
Proper cooling is vital for your system’s health. Ensure your cooling fans and heat sinks are working correctly.
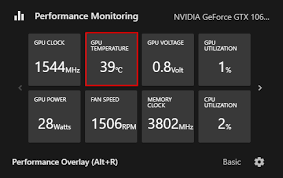
2. Checking CPU and GPU Temperatures:

Use software tools to monitor your CPU and GPU temperatures. If they’re running too hot, you might need to improve your cooling solutions.
3. Cleaning Dust and Debris:
Dust and debris can clog cooling systems and cause overheating. Regularly clean your computer’s internals to prevent this.
Read: White Light On Motherboard – Ultimate Guide – 2024
Hardware Failures:
1. Identifying Faulty Components:
Run diagnostic tests to identify which component is failing. This can be done using built-in motherboard diagnostics or third-party software.
2. Replacing RAM, CPU, or GPU:
If you’ve identified a faulty component, replace it with a new one. Ensure compatibility with your motherboard.
3. Testing with Alternative Components:
Test your system with alternative components to isolate the faulty one. Borrowing parts from another system can be helpful.
Loose or Faulty Connections:
1. Checking All Cables and Connectors:
Go through all the cables and connectors to ensure they are securely attached. Loose connections can easily cause the red light to appear.
2. Reseating RAM and GPU:
Remove and reinsert the RAM and GPU. This can resolve connection issues that might be causing the red light.
3. Ensuring Secure Motherboard Mounting:
Make sure your motherboard is securely mounted to the case. Loose mounting can cause electrical shorts and trigger the red light.
BIOS and Firmware Issues:
1. Updating the BIOS:
Sometimes, outdated BIOS can cause hardware issues. Check for BIOS updates from your motherboard manufacturer and apply them.
2. Resetting BIOS Settings:
Resetting the BIOS to its default settings can resolve configuration issues. This can often be done via a jumper on the motherboard or within the BIOS menu.
3. Reflashing Firmware:
Reflashing the firmware can fix corruption issues that might be causing the red light. Follow the manufacturer’s instructions carefully.
Software and Driver Problems:
1. Updating Drivers:
Ensure all your hardware drivers are up to date. Outdated drivers can cause conflicts and trigger error indicators.
2. Running System Diagnostics:
Use system diagnostic tools to check for software issues. These tools can identify and sometimes automatically fix problems.
3. Reinstalling the Operating System:
As a last resort, reinstalling your operating system can resolve software issues that are causing the red light.
When to Seek Professional Help:
1. Recognizing When DIY Fixes Aren’t Enough:
If you’ve tried everything and the red light persists, it might be time to call in a professional. Some issues require specialized tools and expertise.
2. Choosing a Reliable Technician:
Look for a technician with good reviews and proper certifications. They should have experience with your specific type of system.
Preventative Measures:
1. Regular Maintenance Tips:
Perform regular maintenance on your system. Clean it, check for software updates, and inspect hardware periodically.
2. Monitoring System Health:
Use software tools to continuously monitor the health of your system. Early detection of issues can prevent more significant problems.
3. Investing in Quality Hardware:
Sometimes, spending a little more on high-quality components can save you from headaches down the line.
Troubleshooting Tips and Tricks:
1. Common Pitfalls to Avoid:

Avoid common mistakes like static discharge when handling components or using the wrong power supply.
2. Useful Tools and Software:
Invest in useful tools like a multimeter, thermal paste, and software diagnostics tools. These can help you troubleshoot and maintain your system.
FAQs:
1. What does a solid red light on the motherboard mean?
A solid red light typically indicates a hardware issue or a critical error. It could be related to the power supply, overheating, or a component failure.
2. Can a red light on the motherboard indicate a serious problem?
Yes, a red light can signal a serious problem, such as a failing component or a significant power issue. It’s essential to address it promptly to prevent further damage.
3. How can I prevent motherboard red light issues in the future?
Regular maintenance, such as cleaning your computer, updating software, and monitoring temperatures, can help prevent red light issues. Investing in quality hardware also helps.
4. Is it safe to continue using a computer with a red motherboard light?
It’s not recommended to continue using your computer if the red light is on. Doing so can risk further damage. It’s best to diagnose and fix the issue first.
5. What tools do I need to troubleshoot motherboard issues?
Useful tools include a multimeter, thermal paste, software diagnostic tools, and a set of screwdrivers. These will help you inspect, clean, and replace components as needed.
Conclusion:
Addressing a red light on your motherboard doesn’t have to be a daunting task. By understanding what it means and following these steps, you can diagnose and fix the issue. Remember, regular maintenance and monitoring are key to preventing problems before they start. If all else fails, don’t hesitate to seek professional help to get your system back in working order.
